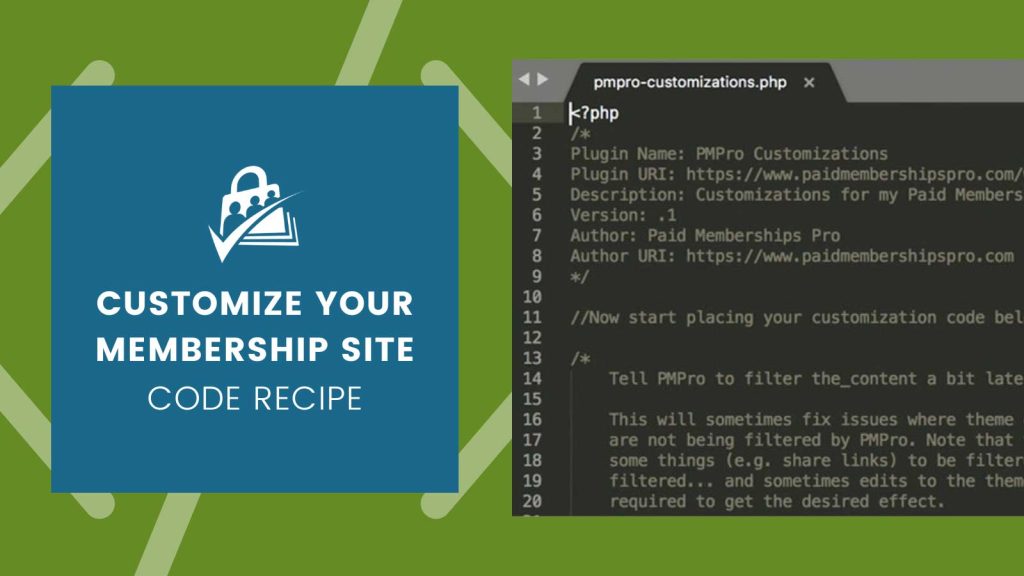
If you would like to add unique CSS/styles to your site running Paid Memberships Pro, here’s a tutorial that extends our article on creating a plugin for PMPro Customizations.

Creating Your Customizations Plugin
There are two ways to create your customizations plugin: using our blank plugin template or by creating your own plugin.
Option 1: Download a Blank Customizations Plugin
- Download the blank customizations plugin with blank stylesheet (.zip)
- Upload the .zip file via the Plugins > Add New > Upload page in your WordPress admin.
- Activate the plugin.
Option 2: Create a Customizations Plugin
- Create a folder called
pmpro-customizationsin thewp-content/pluginsfolder of your site. - Create a file called
pmpro-customizations.phpin the folder you just created. - Edit the
pmpro-customizations.phpfile and paste this block of code into the file:
- Save the file.
- Next, create a subfolder called
cssin thepmpro-customizationsfolder. - Create a file named
pmpro-customizations.cssand save it in thepmpro-customizations/cssfolder. - Add your unique CSS to this file.
- Upload the plugin via FTP to your website.
- Activate the plugin via the Plugins page of your WordPress Admin.
Editing Your Customizations Stylesheet
- Connect to your web server via FTP.
- Navigate to the
/wp-content/plugins/pmpro-customizations/folder. - Download the latest copy of the
/css/pmpro-customizations.cssfile. - Open the file in your preferred editor.
- Add the customization styles for the recipe or code shared via your support forum thread at the bottom of
pmpro-customizations.css. - Save the File and upload the file to your website via FTP.
Was this article helpful?
YesNo


