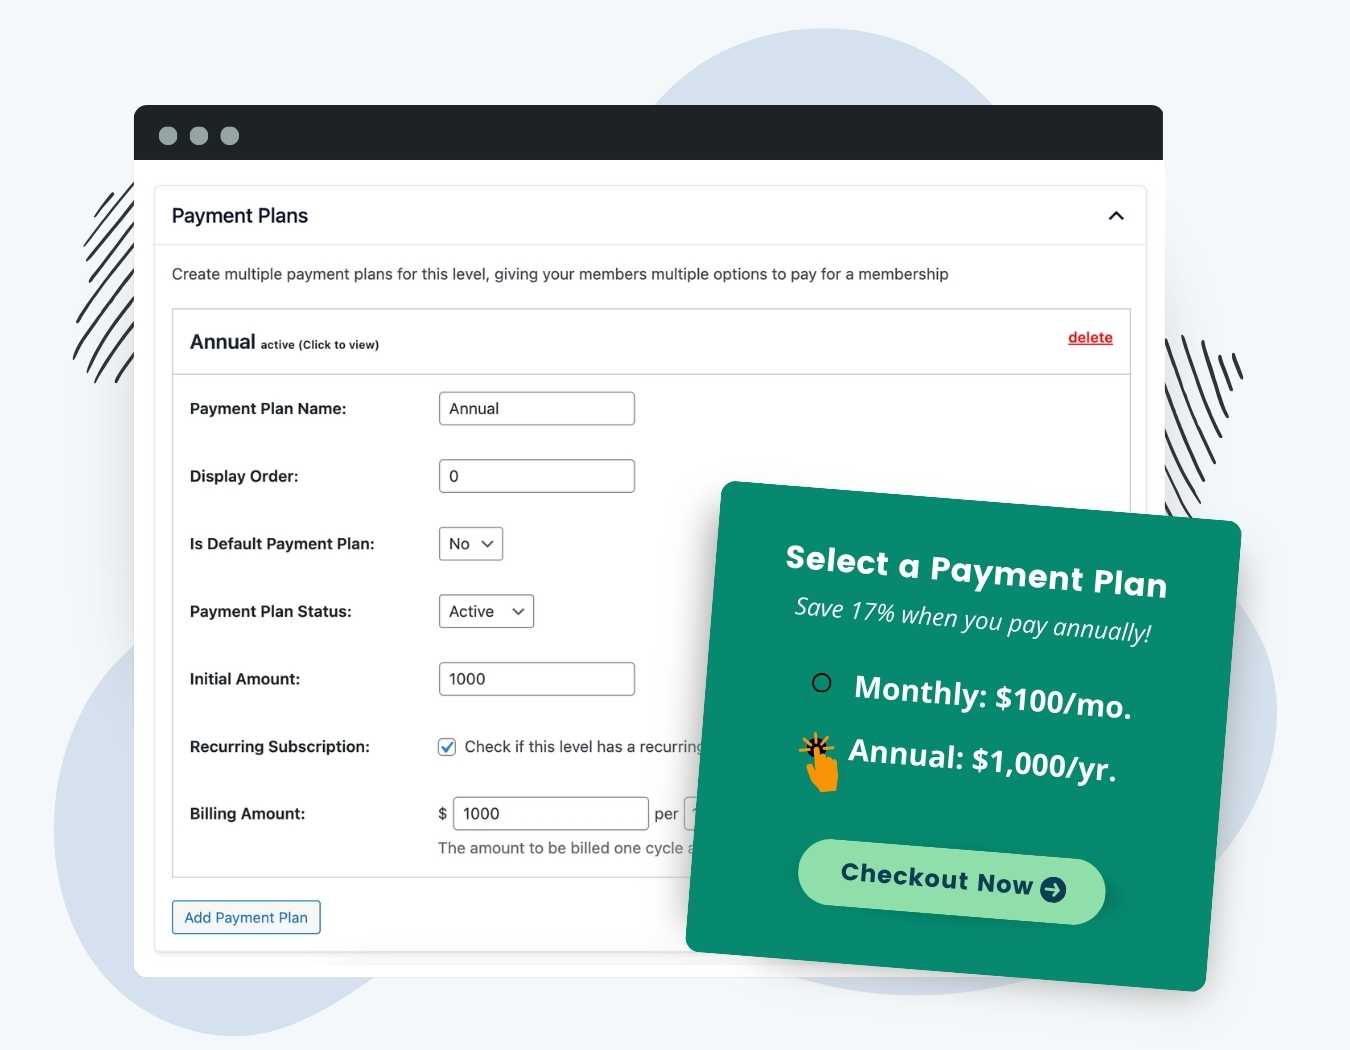
Boost your checkout conversion rates with the Payment Plans Add On for Paid Memberships Pro.
This simple yet powerful plugin lets you to offer multiple pricing structures for the same membership level. Enable month-to-month payments to attract members who prefer smaller, more manageable amounts, or offer discounted rates for those who commit to longer terms upfront.
Try a Demo: View the PMPro demo site or launch a free private demo now.
- Flexibility: Provide options for monthly and annual payments on the same membership level, allowing members to choose a plan that best suits their financial situation.
- Reward Member Loyalty: Payment plans encourage your most loyal members to commit to a longer pre-paid membership term, especially when your offer a discount on annual payments.
- Simplified Checkout Process: Streamline the checkout process and remove the need for multiple membership levels that grant the same access.
How It Works
This Add On allows you to offer more than one pricing structure on the same membership level. Offering multiple pricing structures, like a monthly and annual/yearly option, helps your membership appeal to a broader range of prospective buyers.
- Payment plans can help make a financial commitment to membership less intimidating. You can cast a wider net to potential members that want a discount for paying annually or would prefer a smaller monthly fee.
- By providing a means for anyone to become a member, regardless of their budget, you increase the chances of your membership site’s success.
Payment plans are commonly used to offer an incentive for people who commit to a longer term membership.
- One member can choose a larger initial cost that covers the full year of membership
- A more conservative member can pay frequent, lower-priced payments that add up to a bigger payout over the year for you.

Payment Plans vs. Separate, Individual Levels: Which Should You Choose?
This Add On is not required for you to offer different levels with different pricing structures.
In fact, many membership sites like having distinct levels, even if they all provide the exact same level of access to your site. This way, you can use the reports and filters within the PMPro admin area, as well as the reporting tools provided through your payment gateway, to see data about which membership levels are the most popular, churn rates by plan, and more. Some sites, though, prefer to have a single level with different ways to pay. Here’s a breakdown of the pros and cons of both methods:
Pros of Using Payment Plans (vs. Separate Levels)
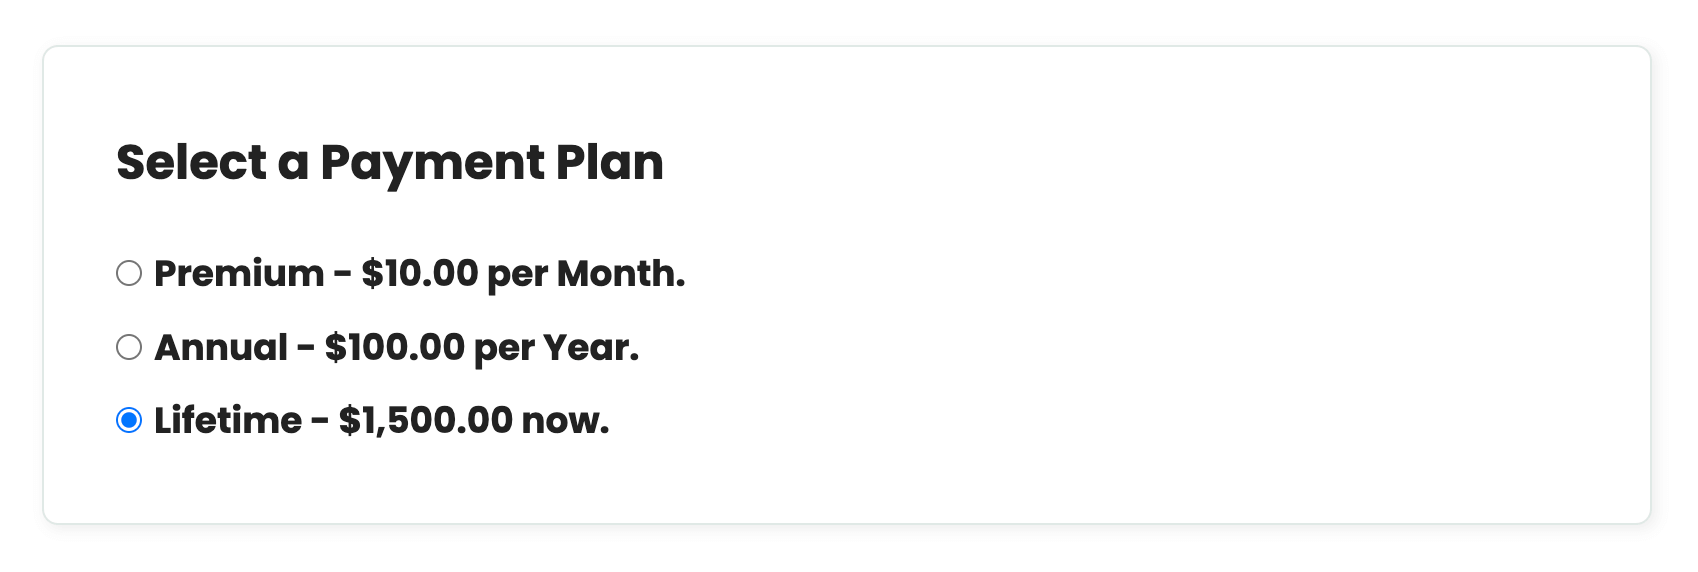
- More straightforward checkout process for your users. If you only have one tier of membership access, but offer different pricing, you can bypass the Membership Levels page and show your plans as a simple radio select at checkout using this Add On.
- Lock in members for a longer term. If users see the savings on an annual plan and prepay, its possible you will reduce churn for members paying in shorter intervals.
- Easier to restrict content as the admin. A payment plan is associated with a single level, so you only need to protect any new content for that single level. Everyone on that level, regardless of their payment plan, will gain access to that content.
Pros of Using Separate Levels
- More specific control over protected content. Even if you only have one tier of access, offering separate levels means you can occasionally offer an incentive or additional piece of content for members of a special level (i.e. a special post or download for people that pay you annually, only).
- Easier filtering and reporting. The admin area of PMPro allows you to filter members and orders by level. You will not able to view a separate list of people that are paying you annually vs. monthly if you use payment plans. The same is true of your payment gateway’s built in reports. The plans are all part of the same “Product”, for example with Stripe, so the reporting will not be as robust as if the separate pricing structures were for separate levels (products).
- Discount Codes will work as intended. Payment plans are not compatible with the built-in discount codes features of PMPro. If you intend to offer coupons and run sales, you should set up your site with separate levels (not payment plans).
Installation
You must have the Paid Memberships Pro plugin installed and activated with a valid license type to use this Add On.
- Navigate to Memberships > Add Ons in the WordPress admin.
- Locate the Add On and click Install Now.
- To install this plugin manually, download the .zip file above, then upload the compressed directory via the Plugins > Add New > Upload Plugin screen in the WordPress admin.
- Activate the plugin through the Plugins screen in the WordPress admin.
Settings
After installing and activating the Add On, nothing will immediately change in your site. You will need to edit your existing levels or create a new membership level to set up your payment plans.

- Navigate to Memberships > Settings > Levels in the WordPress admin.
- Select level to edit or create a new membership level.
- Set up the level’s main pricing to the default or most popular payment you offer. For example, set the main level up as a monthly membership that charges an initial fee and fixed price per 1 month.
- Now, locate the Payment Plans section and click the “Add Payment Plan” button.
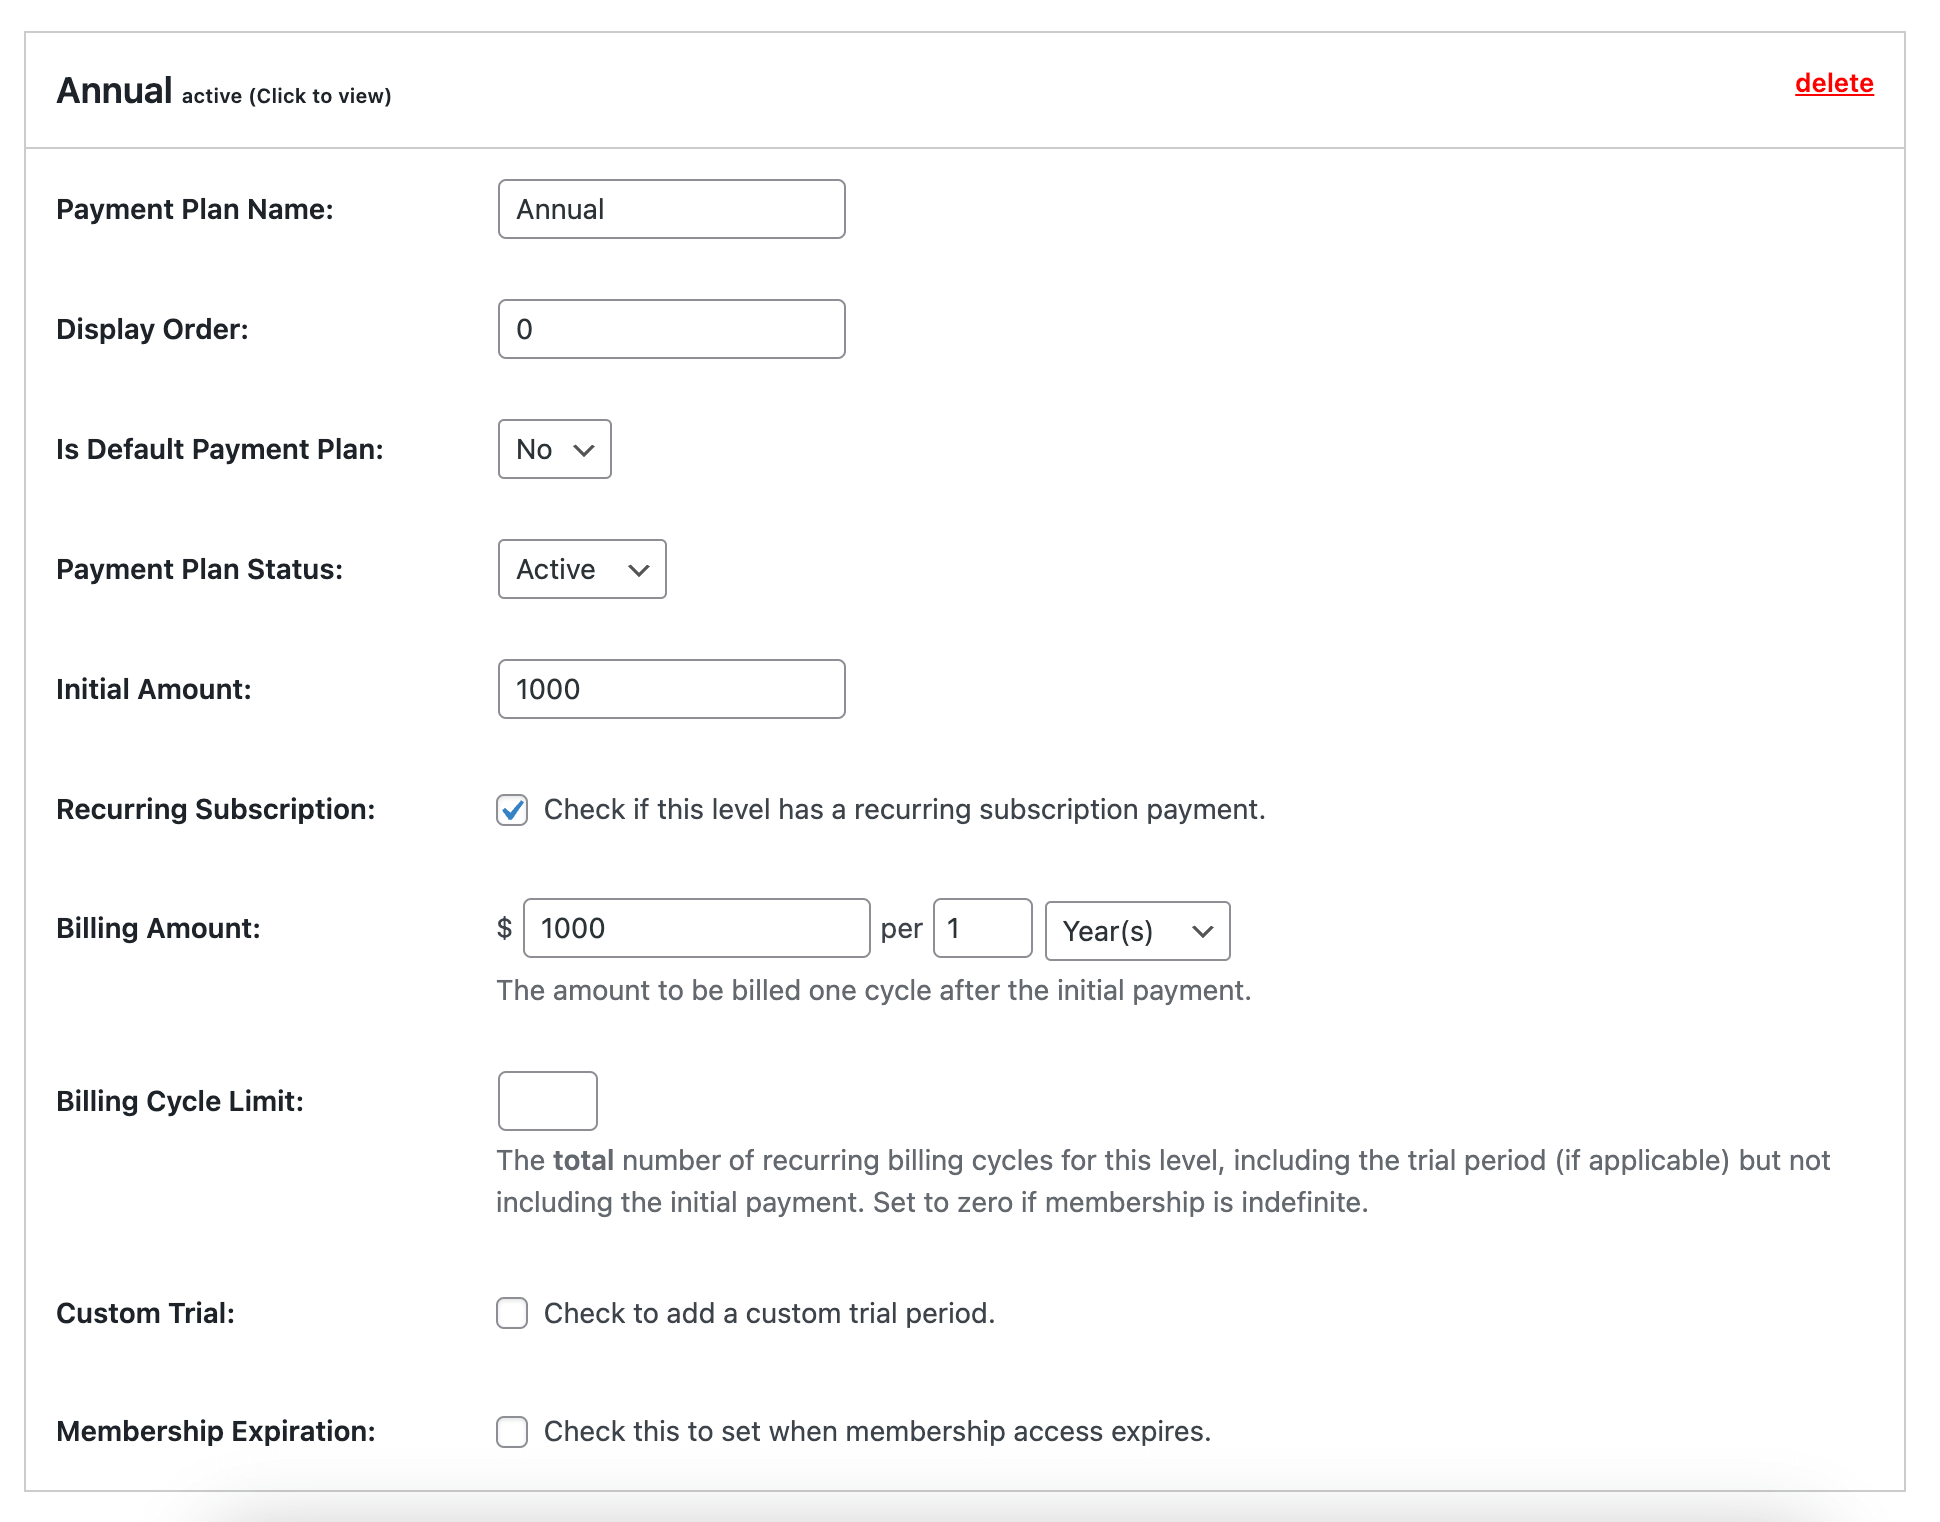
- Expand the individual payment plan to adjust the name, pricing details, and any additional settings related to expiration or trials.
- Add additional payment plans if you’d like to offer more than one. The default level pricing will be shown first in the list with any additional active payment plans shown below.
- Save the membership level and browse to the checkout page for that level to see your plans in action.
Payment Plan Setting Fields
Below is a list of the setting fields available for each payment plan:
- Plan Name: The name of this payment plan, shown to users on the Membership Checkout page, Membership Account page, Membership Billing page as well as within the admin for your reference. An example plan name is “Annual” or “Paid Annually”.
- Display Order: Adjust the order in which plans appear on the checkout page.
- Is default payment plan?: Set whether this plan is the “default price”. Setting as the default price will show the level’s pricing in the main “Membership Level” section on the checkout page.
- Payment Plan Status: Select whether the plan is “Active” or “Inactive”. If you delete the plan, you will no longer have the plan as a reference within the admin for any member or order that used the plan. If you have active members that have paid with this plan, set it to inactive instead of deleting the plan.
- Pricing fields: These fields replicate the code PMPro membership level pricing fields which are explained in the documentation on membership level settings here.

Building a Checkout Link with a Preselected Payment Plan
You can streamline the signup process for your members by creating a direct link to the checkout page with a specific payment plan preselected using the &pmpropp_chosen_plan query parameter. This parameter helps you extend a regular level’s checkout link with a preselected payment plan. Here’s how to build the payment plan checkout link:
- Get the URL to Your Checkout Page for a Chosen Level: The default checkout page in Paid Memberships Pro is typically located at a URL like the following with the level ID included as a URL parameter:
example.com/membership-checkout/?pmpro_level=2
- Find the Payment Plan Identifier: Each payment plan is assigned a unique identifier. The only way to locate this right now is by inspecting the source code of your site for the plan fields shown at checkout. The identifier appears as a custom string, e.g.
L-1-P-4). - Construct the Link: Combine the base URL of the checkout page with the membership level and payment plan parameters to create your direct link.
- Example: If your checkout page URL is
example.com/membership-checkout/, your membership level ID is5, and the payment plan identifier isL-5-P-4, the resulting link would be:
- Example: If your checkout page URL is
example.com/membership-checkout/?pmpro_level=5&pmpropp_chosen_plan=L-5-P-4
Before sharing the link, test it to ensure it correctly preselects the desired level and payment plan on the checkout page.
Video: Payment Plans Add On Demo
Action and Filter Hooks
apply_filters( 'pmpropp_include_level_pricing_option_at_checkout', true, $level_id );
Optional; return false to hide the default level settings from the payment plan options at checkout. Supports boolean value and the $level_id (allows devs to choose which level ID to show this option for).
apply_filters( 'pmpropp_plan_cost_text_checkout', $plan_name_raw, $plan )
Allow filtering of each plan cost text at checkout (Includes the plan name – cost text)
apply_filters( 'pmpropp_plan_html_template', $plan->html, $plan, $level_id );
Allow filtering the plan HTML input.
Screenshots


This is a Plus Add On.
Plus Add Ons are included in all Plus or higher premium membership plans.


