Thinking about changing your membership site’s domain name? Maybe your business has shifted, you have finally secured the perfect domain, or you are rebranding for a fresh start. But if your site is already up and running, you might be wondering:
- Will this kill my SEO?
- Will my paying members lose access?
- Will recurring payments break?
The good news is that you can transition to a new domain smoothly—without hurting SEO, disrupting subscriptions, or creating a technical nightmare.
In this guide, we will walk you through the exact steps to change your PMPro-powered membership site’s domain the right way. Keep reading to learn how to:
- Make the domain name swap for a WordPress site.
- Minimize the impact on your hard-earned search rankings.
- Protect recurring revenue for a site powered by Paid Memberships Pro (PMPro).
- Confirm that everything is running smoothly for your members after the switch.
Table of contents
- Why Change Your Domain?
- Step 1: Backup and Prepare
- Step 2: Register Your New Domain
- Step 3: Configure Hosting and DNS Settings
- Step 4: Update WordPress With the New Domain
- Step 5: Redirect Old URLs to the New Domain
- Step 6: Update Webhooks and Payment Gateway IPN URLs
- Step 7: Monitor and Maintain SEO Health
- Step 8: Update External Integrations and Services
- Change Your Domain Name: Final Thoughts
Why Change Your Domain?
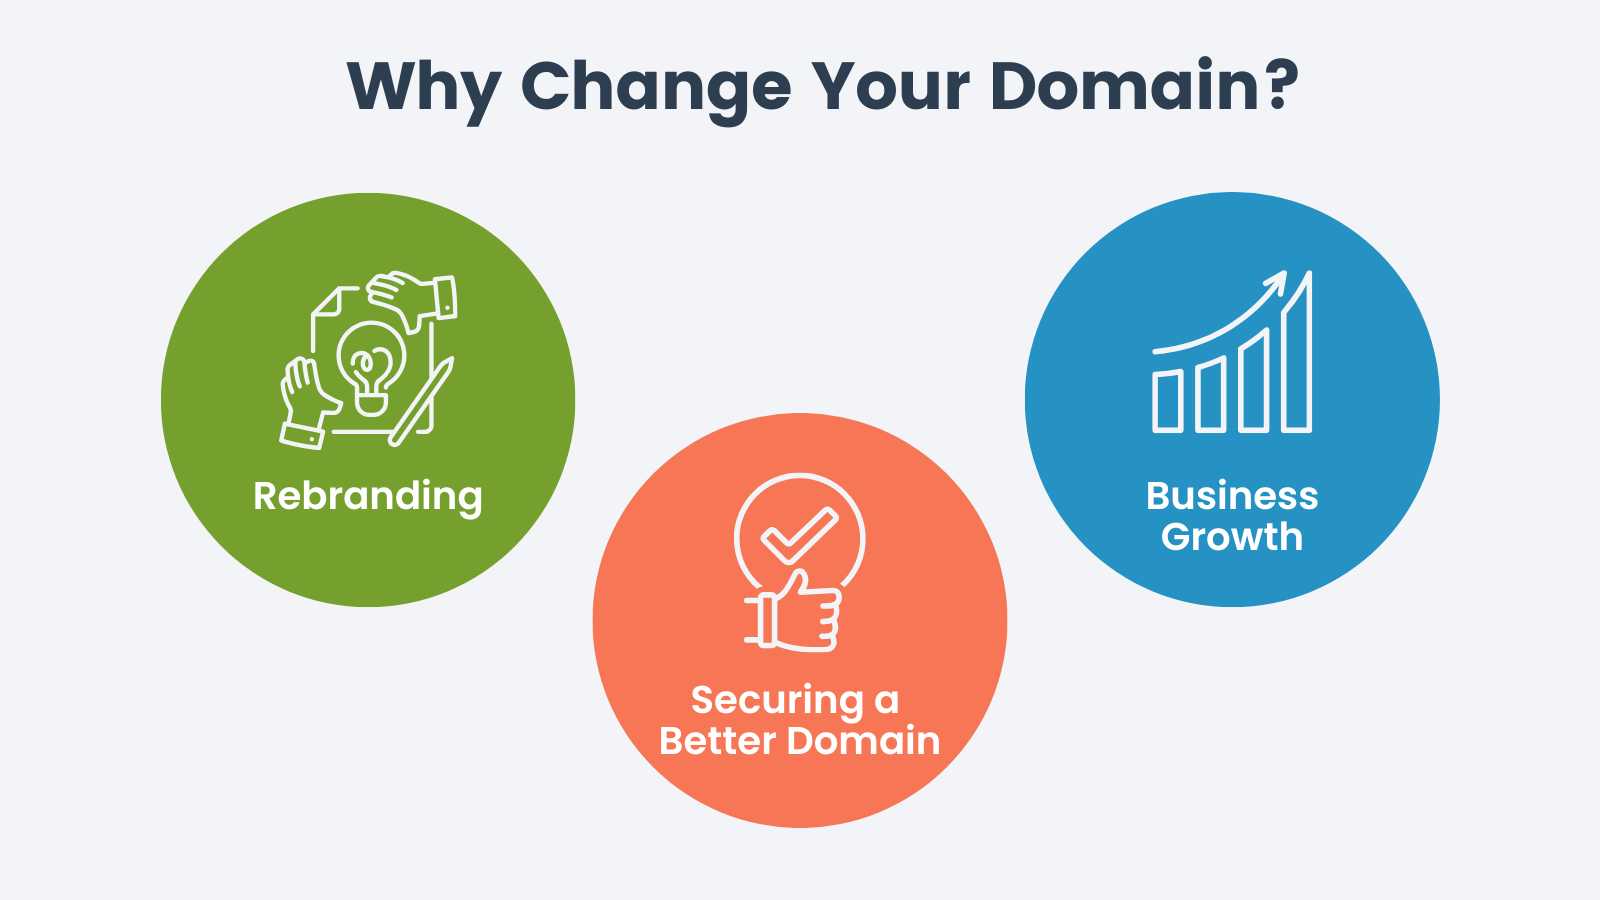
There are many reasons why you might need to change your membership site’s domain:
- Rebranding: Your old domain no longer reflects your business focus.
- Business Growth: You have expanded from a local community to a global audience.
- Securing a Better Domain: When you started out, your ideal domain was too expensive, but now it’s within reach.
Thanks to your hard work and deeper understanding of your audience, you’ve outgrown your old domain—and this guide will ensure your transition is smooth and SEO-friendly.
The rest of this guide walks you through the technical steps you must take, while addressing specific considerations for membership sites–most importantly, preserving recurring payments and protecting member data.
Step 1: Backup and Prepare
Before making any changes, take a complete backup of your membership site. This should include your WordPress database, files, and configurations. You’ll want to validate that your backup is restorable, just in case anything goes wrong during the domain switch.
- Use a plugin like UpdraftPlus or manual backups via cPanel.
- Test restoring your backup in a staging environment to ensure it’s functional.
We’ve got a complete guide on how to backup your WordPress website here.
With your backup secure, let’s move to the next step: registering your new domain.
Step 2: Register Your New Domain
If you haven’t already, choose and register the domain name that reflects your site’s new direction. It’s important to select a domain that’s relevant for SEO and branding. Most membership sites go with .com, but in certain niches, a .org or .co domain could work well.
- For the sake of simplicity, we recommend having all of your domain names registered with the same registrar.
- If this is your first time purchasing a domain, we recommend Namecheap.
Your registrar may offer you additional domain features like an email, premium DNS, an SSL certificate, automatic renewals, and domain name privacy.
You can skip almost all of their domain add-ons, except auto-renewals and domain privacy protection. This privacy hides your personal details from searchable “Whois” databases that disclose the owner of every domain name.
Your domain is ready to be put to use. The next step will be connecting it to your hosting.
Step 3: Configure Hosting and DNS Settings
Every hosting provider has a slightly different process for assigning a domain name to your site. But the core steps are:
- Log into your domain registrar (e.g., Namecheap, GoDaddy).
- Update your DNS settings to point to your hosting provider’s nameservers or IP address.
- Wait for DNS propagation (this can take up to 48 hours, but often happens much faster).
If your domain and hosting are from the same provider, this process is usually automatic. But if you are switching hosting too, you may need to manually update DNS records.
If you’re unsure, reach out to your hosting provider’s support or check their documentation, like this help page on DNS via WP Engine.
Pro Tip: If you’re interested, now is a great time to add Cloudflare’s free DNS Firewall. A DNS firewall provides distributed denial of service (DDoS) protection, improves page speed by delivering content via a global CDN, and includes a web application firewall to block malicious traffic and vulnerabilities.
Step 4: Update WordPress With the New Domain
Now it’s time to make the switch within WordPress itself.
First, update the WordPress Address (URL) and Site Address (URL) in the Settings > General section.
Now, even after changing your site’s main URL, some old links might remain in:
- Blog posts
- Menu items
- Internal redirects
- Images and media files
To quickly update everything, use a plugin like Better Search Replace to update all instances of your old domain in your database.
If you are an experienced developer, you can also run the update using the WP-CLI search-replace command or directly in MySQL.
Be thorough in checking your custom code, your wp-config.php file, .css, or theme files for any hardcoded domain names, especially if you have used them in custom membership features or layouts.
Finally, after running the script, clear your WordPress cache and re-save permalinks.
Step 5: Redirect Old URLs to the New Domain
The next step is to redirect your old domain to your new one so visitors (and Google) know where to go.
For this guide, we assume you are also closing the hosting plan for the old domain, so edits in the WordPress environment or an .htaccess file redirect would not be possible.
Most domain registrars offer a Domain Forwarding feature. This is the easiest way to redirect traffic from your old domain to your new one.
- Log into your domain registrar (where you registered the old domain).
- Find the Domain Forwarding or Redirects option (may be under “DNS Settings”).
- Set up a 301 (permanent) redirect from olddomain.com > newdomain.com.
- Save changes and wait for propagation (usually within a few hours).
Or, if your old domain is connected to Cloudflare, you can create a URL Forwarding Rule to redirect all traffic.
Regardless of which method you use, test it to make sure traffic is forwarding correctly:
- Open an incognito window and type in an old URL (e.g., olddomain.com/login).
- If it properly redirects to the same page on your new domain (e.g., newdomain.com/login), you’re all set!
- If not, double-check your registrar’s settings or Cloudflare rules.
Step 6: Update Webhooks and Payment Gateway IPN URLs
To ensure recurring payments continue without disruption, you must update your Stripe Webhook and/or Instant Payment Notification (IPN) URL.
How to Update Your Stripe Webhook
If you’re using Stripe, the solution is straightforward since Stripe allows multiple webhook endpoints:
- Log into your WordPress dashboard on the new domain.
- Go to Memberships > Settings > Payment Gateway.
- Find the Webhook section and confirm that it is connected.
- Log into Stripe, go to Developers > Webhooks, and verify that the new domain is listed as an active endpoint.
With this step complete, you can be certain that Stripe subscription payments will continue processing without issue.
Refer to our Stripe webhook docs for more information about these settings.
How to Update Your PayPal IPN URL
Unlike Stripe, PayPal only supports one IPN endpoint.
If your domain changes, PayPal does not automatically update the IPN URL for existing subscriptions. You must manually update it in your PayPal account after the new site is live:
- Log into PayPal Business
- Go to Account Settings > Notifications > Instant Payment Notifications
- Update the IPN URL to match your new domain
- Save changes
The steps to update this are covered in depth in this guide on how to set up your PayPal IPN URL.
This change should be made once the new site is live at the new domain.
Developers Only: Forward Webhook or IPN Posts From Old Domain
In very rare cases, you may need to set up a specific .htaccess rule in the old domain to forward Webhook or IPN data to the new domain.
This is most likely not needed for PayPal or Stripe, but may be needed by other third party gateways.
- If you suspect webhook failures from other third-party gateways, consider setting up a mod_rewrite rule in .htaccess or using Cloudflare’s redirect features.
- A simple 301 redirect won’t work for PayPal IPNs because it strips POST data. Use a forwarding method that preserves full request data.
By updating these settings properly, you prevent unexpected subscription cancellations, failed payments, or member unenrollment due to lost gateway communications.
Step 7: Monitor and Maintain SEO Health
After making the switch, your job isn’t done! It’s important to keep an eye on your SEO and traffic patterns to ensure there’s no significant drop-off.
- Use Google Search Console to submit a change of address.
- Request Indexing in Google Search Console, signaling Google to recrawl your internal links faster.
- Monitor your Google Analytics for any drops in traffic or unusual patterns.
- Update sitemaps and submit them to search engines.
Be patient—some temporary fluctuations in SEO are normal as search engines adjust to your new domain.
Step 8: Update External Integrations and Services
Once your domain is updated, be sure to update all third-party tools that interact with your website, including:
- Email marketing services (e.g., Mailchimp, Kit)
- Ad networks (Google Ads, Facebook Pixel)
- Social media profiles & bios
- CRM & automation tools (Zapier, HubSpot, ActiveCampaign)
- Custom integrations or webhook-based services
You may be using none of these tools or all of them. Each will have a different process to update both visitor-facing links, as well as domain name verification.
You could also perform a Google search for site:olddomain.com to find external references that may need updating.
Change Your Domain Name: Final Thoughts
Changing your membership site’s domain name is more than just a technical update; it’s a chance to realign your online presence with your business’ future.
Your SEO, subscriptions, and member experience don’t have to suffer. By following these steps, you’ll keep everything running smoothly.
If you’re using Paid Memberships Pro, you already have the tools to make this transition seamless. Whether you’re expanding globally, rebranding for a fresh start, or finally securing that dream domain, we’re here to help you thrive.

Download the free ebook: Get 29 insights and ‘aha moments’ for new or veteran membership site business owners. Use these nuggets of wisdom to inspire or challenge you.

