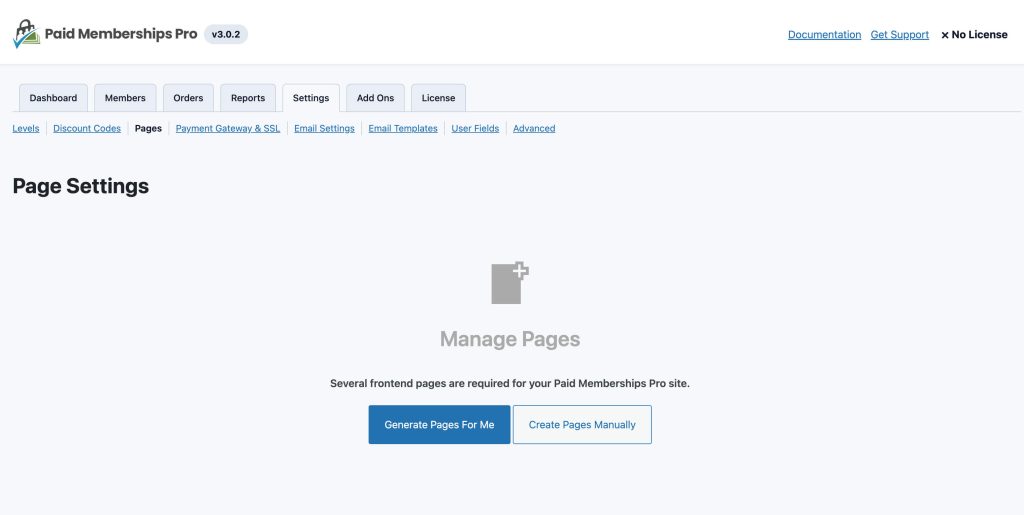
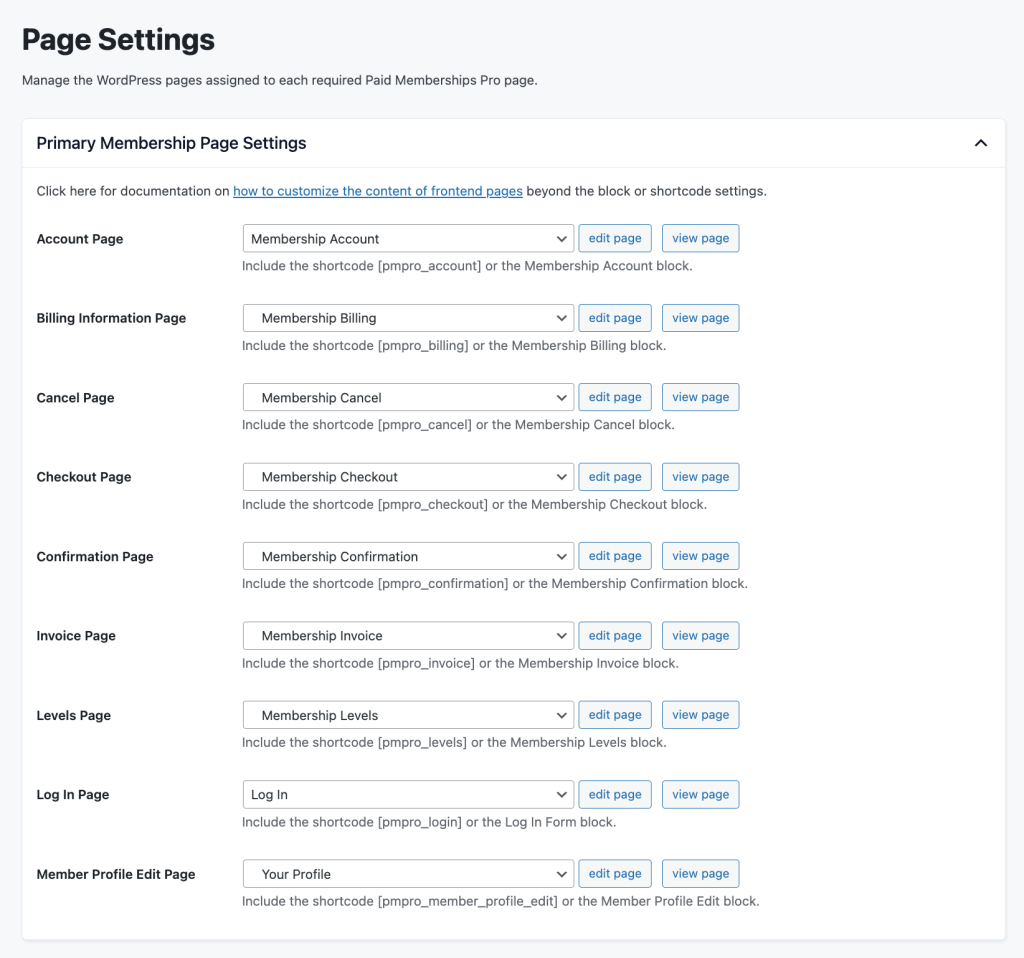
The Memberships > Settings > Page Settings admin page allows you to generate and manage all frontend pages needed for your Paid Memberships Pro site. In addition, any Add Ons that have a frontend page requirement are managed here.
Table of contents
Video Demo
Getting Started
- On the WordPress dashboard, go to Memberships > Settings > Pages.
- If this is a new Paid Memberships Pro installation, you can select to manually create the pages or allow Paid Memberships Pro to automatically generate the pages for you. Allowing the plugin to generate the pages for you is our recommended method.
- Click the Generate Pages for Me button.
- Save your settings.
This step sets the WordPress pages assigned to each required Paid Memberships Pro page. Click here for information on how to customize these pages.
Paid Memberships Pro Pages
Below is a list of each page setting available to your in the core plugin. Again, any Add Ons that have a frontend page component will also show as a setting on this admin page.
Account Page: Members will use their account page as a hub for managing their subscriptions, editing their profile, changing password, as well as view past invoices and custom member links. [docs]
Billing Information Page: The Membership Billing page allows members to update their payment method for membership. [docs]
Cancel Page: This page shows links for a member to cancel their membership or a link to return to the Membership Account page. If the member has more than one active membership level, they will see a list of all active memberships and can optionally cancel a single membership or cancel all memberships. [docs]
Checkout Page: A user will be redirected to the checkout page once a membership level has been selected. This page is used as a registration page where users can sign up for a membership. It is also used to process any payments that may be required in order to become an active member. [docs]
The checkout page appearance varies depending on your level pricing, gateway, custom fields, and any Add Ons you are using. This image shows a default checkout page for a paid level using the Stripe payment gateway.
Confirmation Page: This page shows the confirmation message and details that are displayed after membership checkout. [docs]
Invoice Page: Members can view a full list of all past invoices for their memberships from a single page. Each invoice can be selected, viewed, and printed. [docs]
Levels Page: Your levels page is the membership pricing page that displays subscription options. If you only have one level, you can bypass this page completely by following this guide. Use the Advanced Levels Page Shortcode Add On to get more layout and display options. [docs]
Log In Page: The Log In page displays your user “log in” form and password reset features. You can optionally display a “Logged In” view of this block that shows the user’s display name, a log out link and the “Log In Widget” menu. [docs]
Member Profile Edit Page: Members can edit their first name, last name, display name, and email address. Custom user fields added to “profile” will also display on this form. Adding ?view=change-password to the URL will show a password update form for logged in users. [docs]
Screenshots


Get Support From Our Team of Experts
For more help with this PMPro feature, check out our Support Page with three ways to get support as a free or premium member.
Last updated on August 1, 2025

