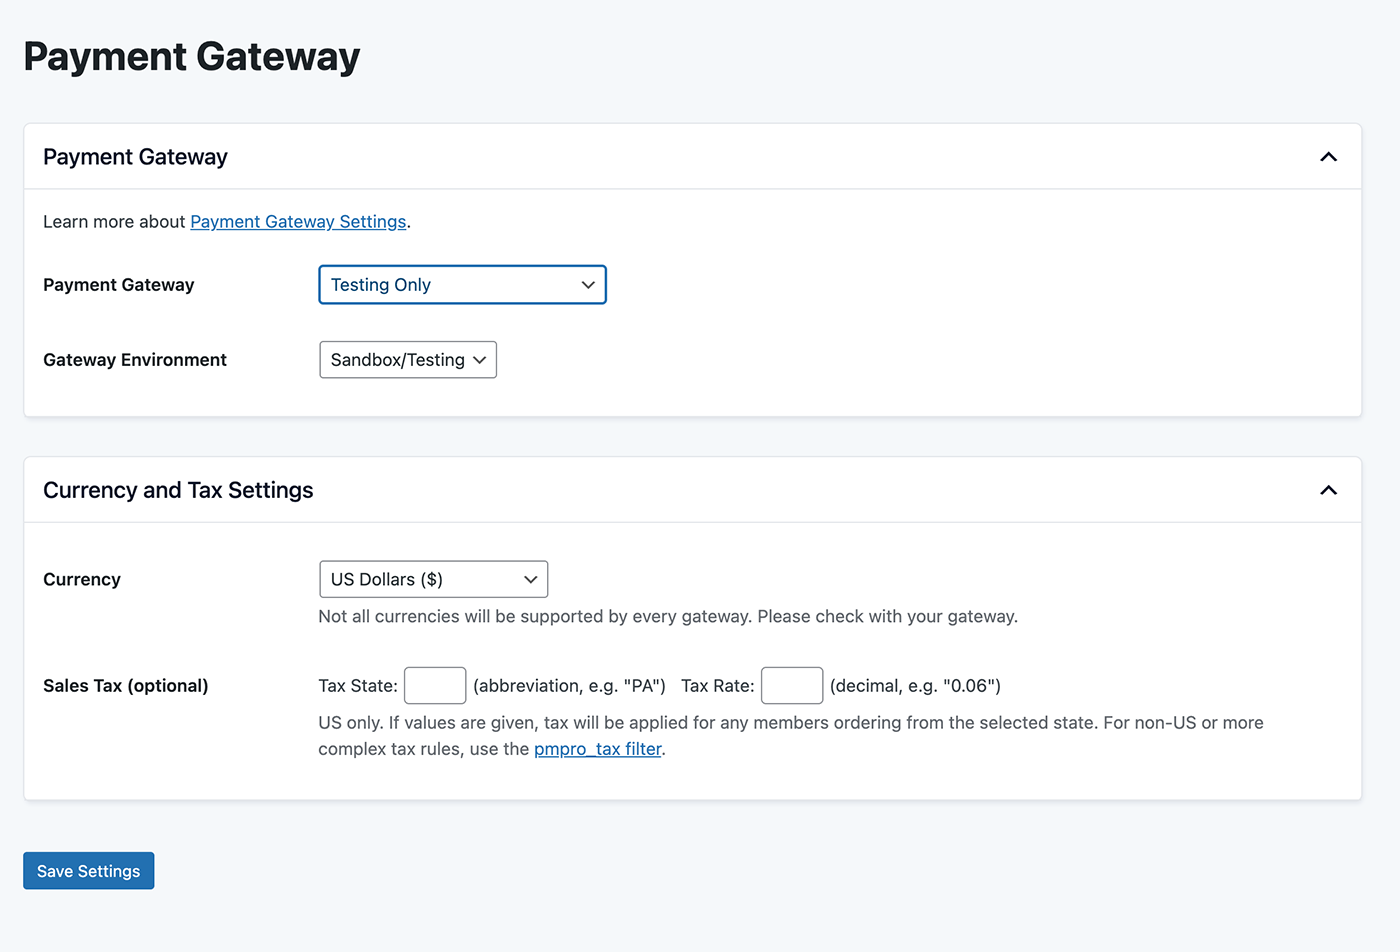
The Memberships > Settings > Payment Gateway page controls the payment gateway settings for your Paid Memberships Pro site.
Configure Your Payment Gateway
If your membership site has paid membership levels, you need a payment gateway. If you have not chosen a payment gateway, click here to learn about the payment gateway options for PMPro.
From the WordPress dashboard, go to Memberships > Settings and select Payment Gateway. From here you can set up your payment gateway using the following settings:
- Payment Gateway: Select one of the payment options available in the dropdown field. In the tutorial, we have chosen Stripe, which is free and quick to set up. Make sure to set up your gateway account before you do this step.
- Gateway setup varies based on which payment gateway you have chosen. Refer to the documentation for your chosen payment gateway as you complete this section.
- You may see additional fields on this screen, such as a webhook or an IPN URL you might need to reference for your gateway. Documentation on how to find and configure these settings can be found in our gateway documentation.
- Gateway Environment: Choose the test or live gateway. For this tutorial, we have selected Sandbox/Testing, but typically you want to set this to “Live”.
- Complete the fields for your chosen gateway: For Stripe, click the “Connect with Stripe” button to automatically authenticate your site with your Stripe account. Other payment methods will have different processes.
- Currency & Sales Tax: Select your website currency in the dropdown field. For this example, we are not charging Sales Tax. Always check with your accountant or your regional tax office to see if tax is required and the tax rate for your memberships. Refer to our guide on methods to calculate and apply taxes if the base tax settings will not work for your needs.
- Save Settings.
Video: Payment Gateway Setup
Screenshot: Payment Gateway Settings

Get Support From Our Team of Experts
For more help with this PMPro feature, check out our Support Page with three ways to get support as a free or premium member.
Last updated on October 4, 2024

