The documentation below outlines how to connect your PMPro-powered membership site to your Stripe account.
Connect Your Site to Stripe
Configuring Stripe for your membership site is done with the click of a single button that connects your Stripe gateway account.
- Navigate to Memberships > Settings > Payment Gateway in the WordPress admin.
- Click the “Connect with Stripe” button.

- The next screen will redirect you to Stripe and, optionally, prompt you to log in to your Stripe account.
- If you already have a Stripe account:
- Enter your existing Stripe account email address.
- Enter your existing Stripe account password.
- If you do not already have a Stripe account:
- Create a new Stripe account through these steps.
- If you already have a Stripe account:
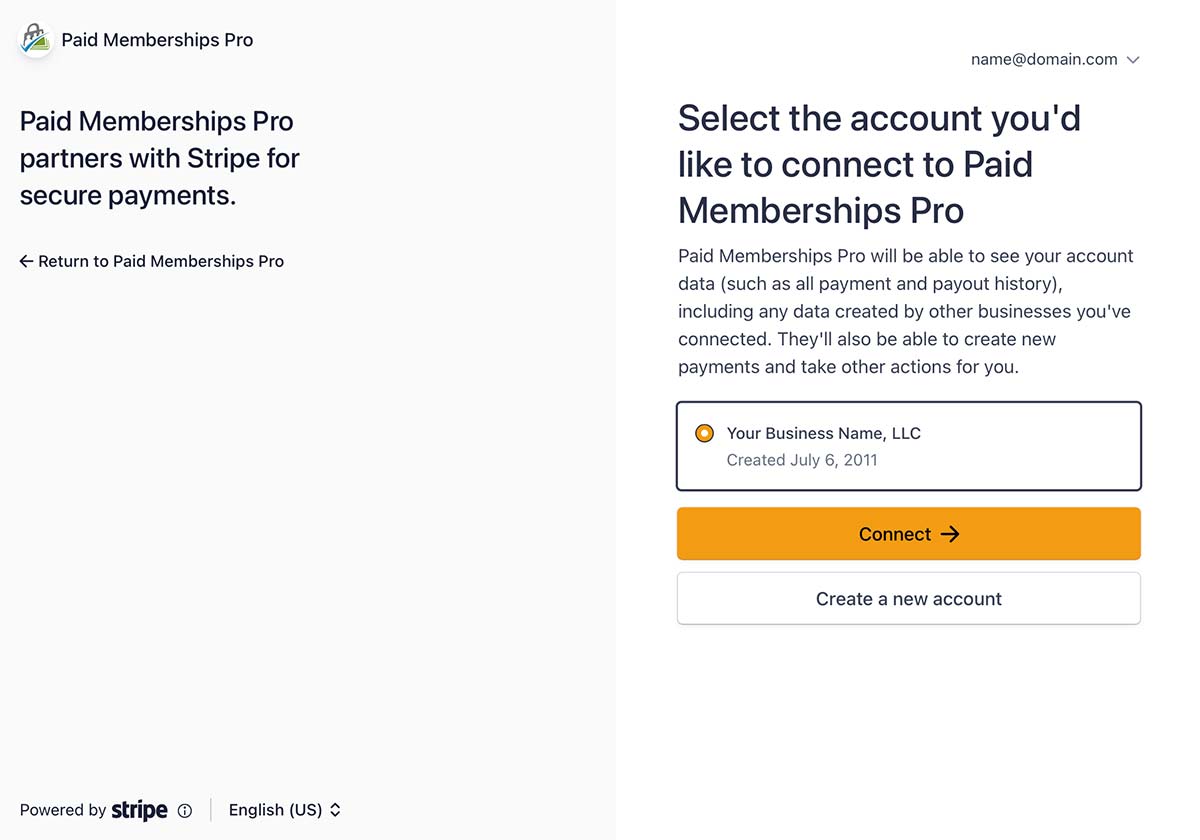
- Once you are logged in, select your Stripe Account and click “Connect “.
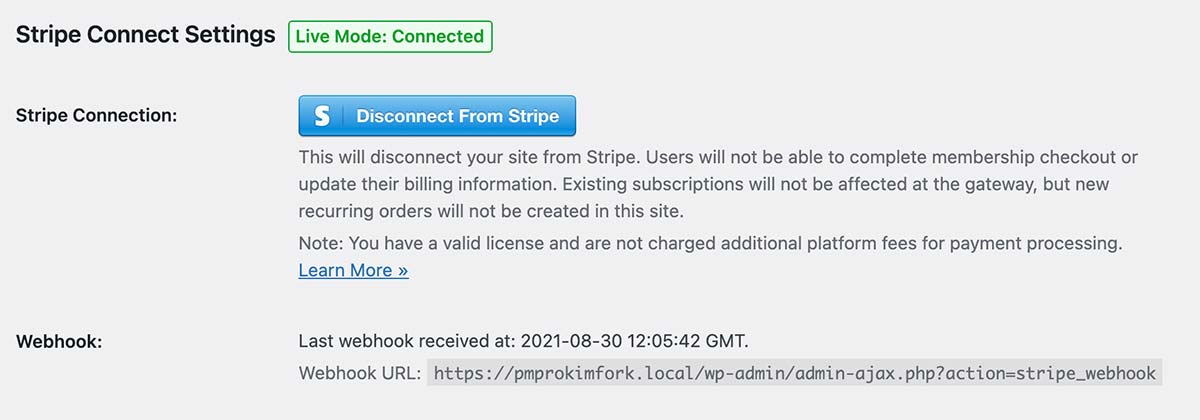
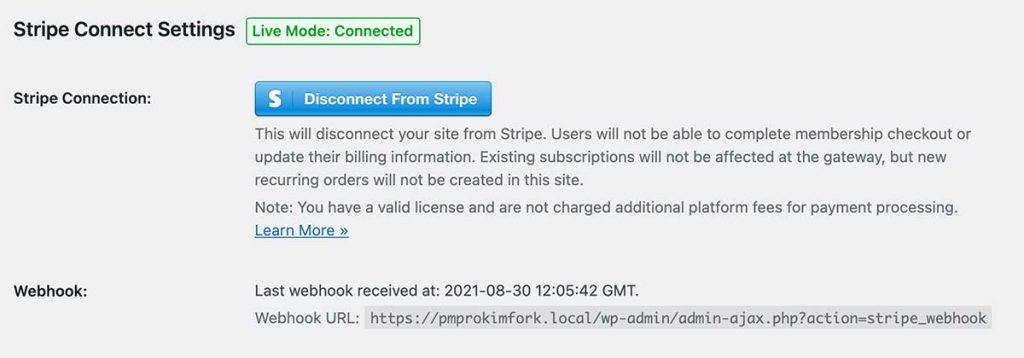
- Once redirected back to your WordPress admin, confirm that the Stripe gateway account is connected.
- Save settings.
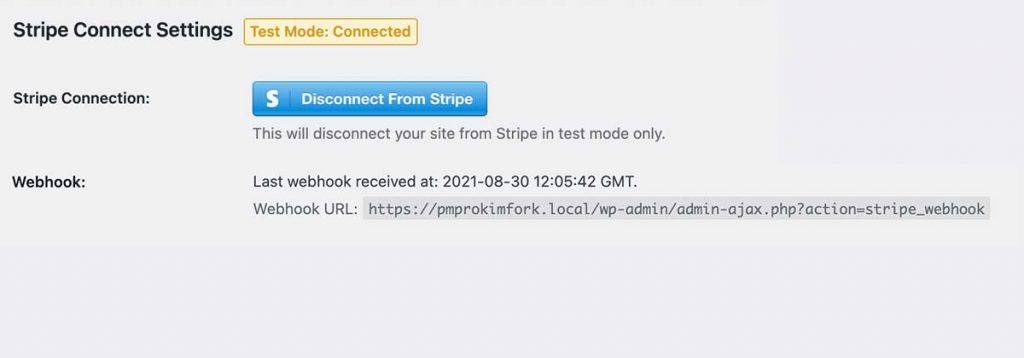
The Stripe integration for Paid Memberships Pro allows you to operate in two modes: “Live/Production” or “Sandbox/Testing”. You can connect to Stripe in either of these modes, using the same gateway account for both modes or a different Stripe account for each mode.
Click here for more information on using Stripe in Testing mode »
Create Your Webhook and Confirm Webhook Status
To fully integrate with Stripe, you must set up your Stripe Webhook. This will ensure that your membership site can stay in communication with the gateway for recurring payment notifications, payment failures, and subscription cancellations.
Recommended: Automatically Create Your Webhook
For most sites, the Webhook is created automatically when you initially connect your site to Stripe.
If your webhook is not set up, the easiest way to set up a webhook with the correct events is to click the “Create Webhook” button on the gateway settings screen.
- Navigate to Memberships > Settings > Payment Gateway in the WordPress admin.
- Locate the Webhook settings section.
- Click “Create Webhook“
- This button the adds a webhook in your Stripe account with the correct URL and the specific events needed by your PMPro checkout process.

Optional: Manually Create Your Webhook in Stripe
If you do not see this button or otherwise cannot automatically create your webhook, follow these manual steps to create your webhook in your Stripe account.
- Navigate to Memberships > Settings > Payment Gateway in the WordPress admin.
- Locate the “Webhook” settings field.
- Copy the Webhook URL from this field. The webhook URL will be in the sample format below:
http://www.YOURDOMAIN.com/wp-admin/admin-ajax.php?action=stripe_webhook
- In your Stripe account, click “Developers” in the upper right.
- Then, click “Event Destinations” in the left column menu to navigate to the Webhooks settings page.
- Click “+ Add endpoint”.
- Enter the webhook URL that you copied in step 3 into the “Endpoint URL” field.
- From the “Events to send” dropdown, select the following events:
charge.failedcharge.refundedcheckout.session.async_payment_failedcheckout.session.async_payment_succeededcheckout.session.completedcustomer.subscription.deletedinvoice.payment_action_requiredinvoice.payment_succeeded
- Click “Add endpoint” to save this webhook to your Stripe account.
Webhook Status
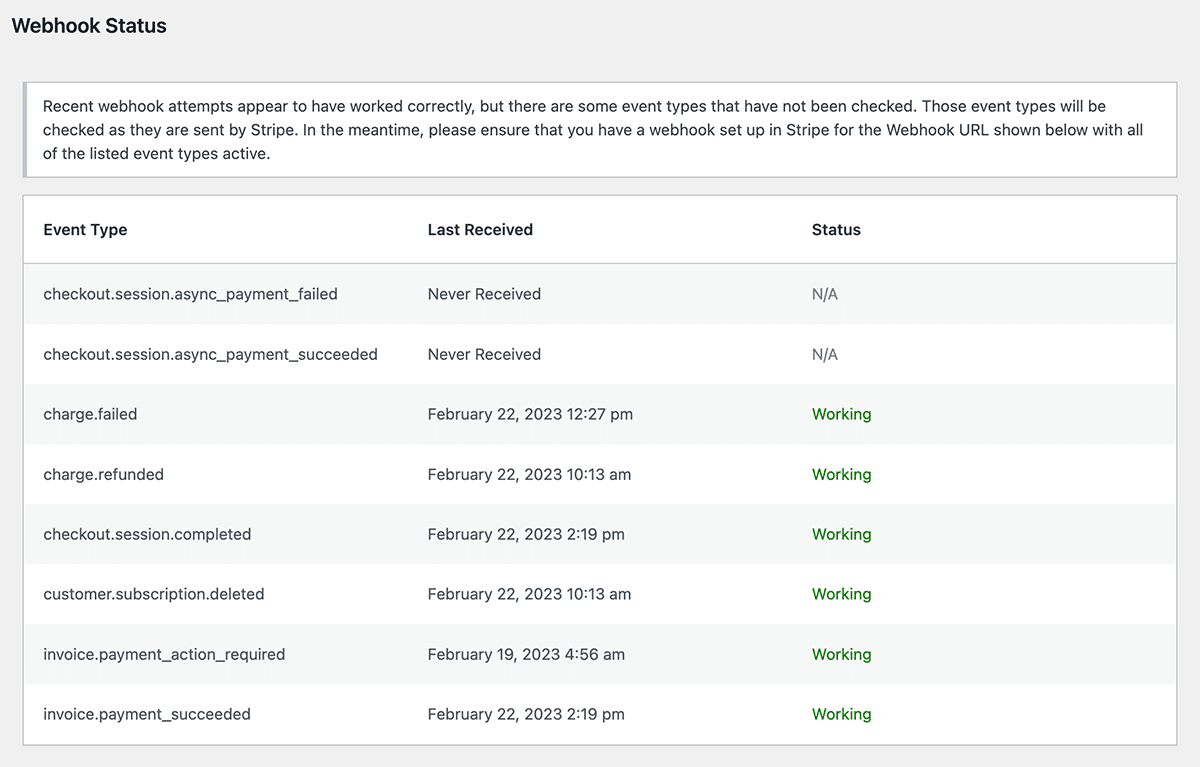
The Payment Gateway settings page in the WordPress admin will show you the status of your Stripe webhook events. This report is meant to help you identify issues with the required endpoints your membership site needs to keep all Stripe initiated data in sync.
- Navigate to Memberships > Settings > Payment Gateway in the WordPress admin.
- Locate the “Webhook Status” section.
- This section displays a list of the last received webhook events for the 9 required event types that your webhook should be sending.
- For any event that appears to have an error, confirm that you have properly configured all events in the Setting Your Webhook URL steps above.
- Last Received: This column shows the last time a webhook was received for that event. Some events may show “Never Received”. This is not necessarily an error. If you know that an event has happened for that endpoint, though, you should look into why the site isn’t receiving the data.
- Status: This column shows the status of the webhook event as determined by Paid Memberships Pro. Some events may show “N/A”. This is not necessarily an error. If you know that an event should have been processed, though, you should look into why the site isn’t receiving the data.
Set the Gateway Environment: Live or Test Mode
Testing a Stripe checkout requires you to change some settings in your membership site’s WordPress admin and to use specific testing card numbers provided by Stripe.
- Navigate to Memberships > Settings > Payment Gateway in the WordPress admin.
- Set your “Payment Gateway” to “Stripe” and set the “Gateway Environment” to “Sandbox/Testing“, if you would like to test checkouts without raising charges. When you are ready to launch and collect fees from users checking out, set the “Gateway Environment” to “Live/Production“.
- Then, follow the steps in the “Connect Your Site to Stripe” section above to complete the setup. You can use the same Stripe Account for both modes, or connect a different Stripe Account for Sandbox/Testing mode. There are no gateway or platform fees charged when using your site in Sandbox/Test mode.
- Save settings.
To test a membership checkout, log out or visit your membership levels page in incognito mode. Stripe’s testing documentation page has test card numbers you can use for checkout. Use any valid future expiration date, any 3 digit CVV (or 4 digits for Amex) and the test card number below:
| Number | Card type |
|---|---|
| Visa | 4242424242424242 |
| MasterCard | 5555555555554444 |
| American Express | 378282246310005 |
| Discover | 6011111111111117 |

