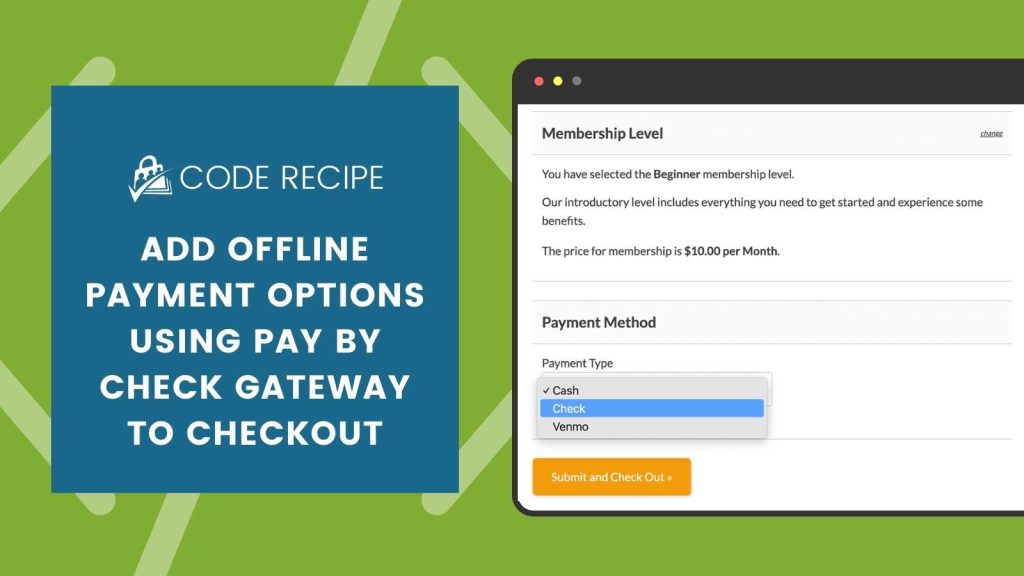
The built-in manual payment gateway allows members to complete membership checkout online and make payment via another method.
These steps will add a dropdown to the membership checkout page, allowing users to select “Check”, “Cash”, or “Venmo”. The selection is saved in the user’s profile. You can use the code snippet in this post to also save their choice to the order generated for the checkout. Admins can use this order meta data for reference when following up on offline.

Table of contents
First, Create Your Payment Type Field
- Navigate to Memberships > Settings > User Fields
- Choose to add your field to an existing field group or create a new field group called “Payment Type”
- Select “Yes” to
Show fields at CheckoutandShow fields on user profile. - Click “Add Field” to create a new field for payment type.
- Set the field label Payment Type
- Set the field name to
payment_type. The field name must match this exactly. - Ensure that the field is required by selecting “Yes”.
- Enter the payment methods that you want to offer for your users. In this tutorial I added the options: Cash, Check, Venmo, and Other.
- Save all Changes
When a member completes checkout for the level, they will see the manual payment instructions on the checkout page, confirmation page and confirmation email. This message is set in the Memberships > Settings > Payment Settings admin area. If you’re using code like this to offer more offline payment methods, we recommend expanding this message to include instructions for all your accepted payment types.
The Code Recipe
Adding the Recipe to Your Website
You can add this recipe to your site by creating a custom plugin or using the Code Snippets plugin available for free in the WordPress repository. Read this companion article for step-by-step directions on either method.
If you accept credit card payments or check (and other offline methods), the Pay by Check Add On offers a collection of customizations useful when allowing users to pay by check for Paid Memberships Pro.
When using this Add On, the member’s order is set to “pending” status after checkout and their access to members-only content is put on hold. Once the member’s payment is received, the admin should update the order to “success” status to activate membership.


