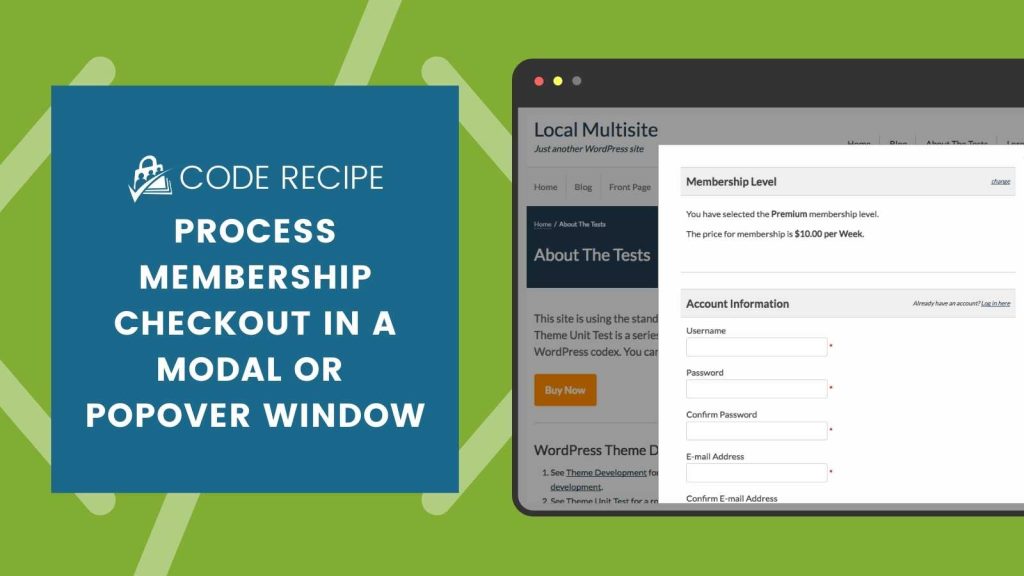
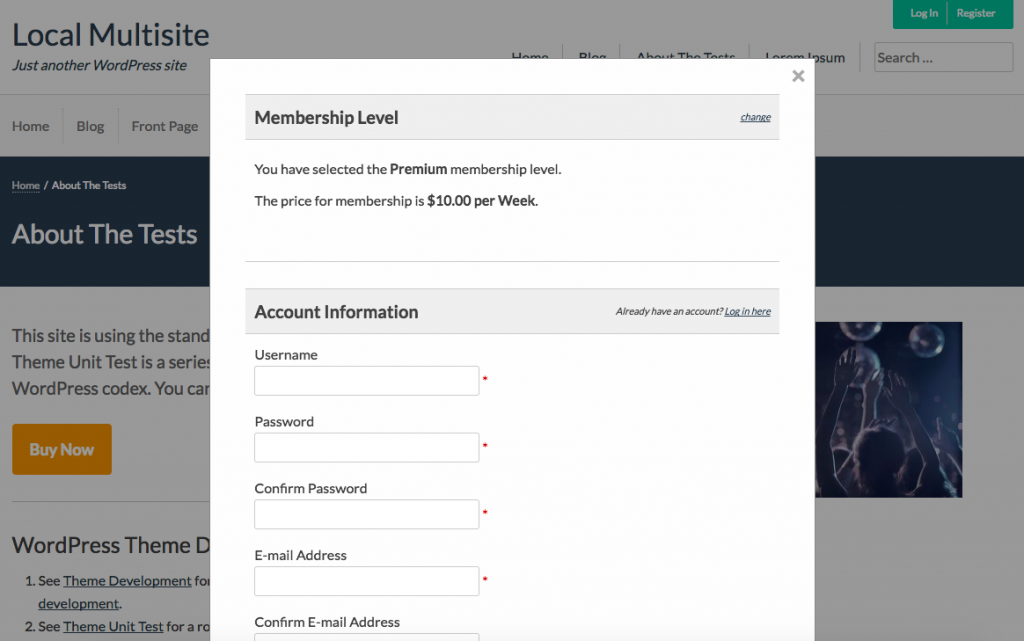
Jason recently wrote up a simple recipe to allow membership checkout in a popup or modal window. This allows you to create a button (in any page, post, widget) that will instantly display the membership checkout form. Read on for more information, how to set it up, and some notes.

How it Works
This recipe loads the membership checkout template in the footer of your pages, allowing you to add a link or button that triggers the form’s display. It works with every payment gateway included in Paid Memberships Pro or for a free level not requiring any payment. You can use User Fields to collect additional fields in the modal form or load a custom checkout template to further enhance the appearance.
You will need to set a “default level” for membership checkout in the popover. This can be set to one sitewide level ID, or customized per page. For example, if you have a sales page for a level ID 2 membership, you can set the default to “2” for that page, and allow the default to be level 1 for all other pages.
To set up modal or popup checkout window, you will need to:
- Paste the code recipe into your PMPro Customizations plugin.
- Customize the default level for your modal window.
- Add a link to trigger the window in your posts, pages, or widgets.
The recipe is very lightweight and does not rely on any additional popup plugins or any JavaScript that is not native to WordPress .

Adding the Link to Trigger the Modal
The modal window relies on JavaScript and a specific element class name pmprocm_modal_btn to trigger its display. You can simply add a link, like the suggested links below, wherever you would like in your content.
//Button-style Link
<a class="pmpro_btn pmprocm_modal_btn" href="#">Buy Now</a>

//Text-style Link
<a class="pmprocm_modal_btn" href="#">Sign Up Now!</a>
The Code Recipe
Copy and paste this code recipe into a helper PMPro Customizations plugin. Adjust the PMPRO_MODAL_CHECKOUT_DEFAULT_LEVEL constant for your needs.
Customizing the Level Per Page
We know that this is a basic recipe that opens the doors to more advanced modal checkout features. For example, if you would like to change the level for membership checkout in the modal based on the page, here is a code block that you can use to replace the line defining the default level in the recipe above.
Copy and paste this code recipe into a helper PMPro Customizations plugin. Adjust the PMPRO_MODAL_CHECKOUT_DEFAULT_LEVEL constants and page checks for your needs.
Customizing the Modal Appearance
This recipe includes some basic CSS to adjust the appearance of the modal window. Some alternative styles you may want to consider include full width input elements or adjusted colors for the dimmed background. We can help with more appearance adjustments through the members-only forum.
To make the modal checkout even more streamlined, you may want to explore using a filter to not require a duplicate email address or password entry. You can also streamline checkout by not requiring a billing address.
See documentation on the pmpro_checkout_confirm_email and pmpro_checkout_confirm_password filters.
Some Notes to Keep in Mind
- It is important that your entire site loads over the
httpsprotocol if you plan to process membership checkout in this method. - If you are already using a popup plugin, see this post for some details on enabling membership logic and features in some popular plugins.
- Again, this is a lightweight approach that can be used as a baseline for more advanced modal checkout features we hope to implement.


