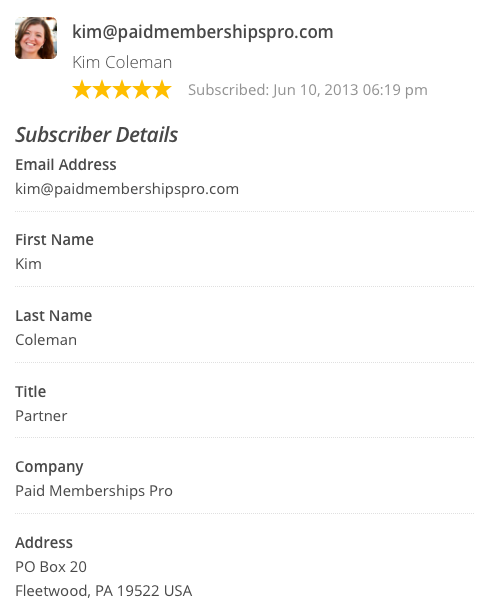
Here’s a code gist that can be used to send more user information to the Mailchimp Subscriber Profile, such as First Name, Last Name, Title, Company, Address, City, State, or Join Date.
This is a useful guide if you are trying to create more personalized and targeted emails to your membership base.

About the Mailchimp Integration Add On
Our Mailchimp Integration adds members to assigned lists within your Mailchimp account. By default, only the user’s email address and level information is added to their Subscriber Profile. Many sites want to send more member info into their email marketing program for personalizing campaigns.
If you’ve added custom user fields to your registration process, you can include these fields as well. Just follow the structure outlined in the gist, updating with your field ID.
Note that custom fields must first be created in the Mailchimp audience. Follow these steps in the Mailchimp help center for instructions on adding a field in audience settings.

Mailchimp Merge Tag Rules and Advice
With Mailchimp, each custom merge tag must first be created in your Mailchimp audience settings. Fields have both a “label” and a “tag”. The code here requires you to use the “tag”.
Mailchimp limits merge field tags to 10 characters or less. If you are unclear what the exact merge tag field is, please log into your Mailchimp account and navigate to Audience > Signup Forms > Settings > Audience fields and |MERGE| tags.
Code Recipe: Sync Additional User Fields to Mailchimp
Adding the Recipe to Your Website
You can add this recipe to your site by creating a custom plugin or using the Code Snippets plugin available for free in the WordPress repository. Read this companion article for step-by-step directions on either method.
How to Create Merge Fields in Mailchimp
To make this recipe to work for your site, you will need to customize this code for your specific merge fields and user meta keys. If the fields you are sending are new merge fields, they must first be created in Mailchimp. You can do this manually through the Mailchimp dashboard:
- Log in to your Mailchimp account dashboard.
- Navigate to Audience > Signup Forms.
- Click the Settings dropdown.
- Choose Audience fields and |MERGE| tags.
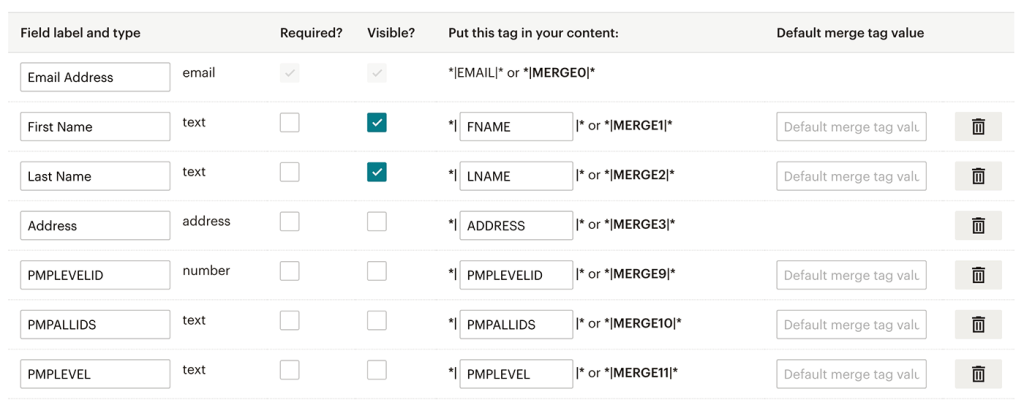
- The value used in the code should match the string in the column “Put this tag in your content”. (pictured below).

Or, you can use the pmpro_mailchimp_merge_fields filter to create them through the API like the example recipe below:
Code Recipe: Create Merge Fields Through the Mailchimp API
If you use the filter to create fields via the API, remember that there is a 10 character limit on the “tag”. The API will allow you to send longer field labels into Mailchimp, but on the Mailchimp side they will be automatically reformatted (spaces removed) and truncated to 10 characters or less. For example, if you create a field named “My Favorite Color”, Mailchimp will truncate the merge field’s tag to MYFAVORITE.
Note: This code requires the Mailchimp Add On and Paid Memberships Pro.


