Just like categories and tags help you organize your WordPress site’s posts, a user taxonomy helps your organize your WordPress site’s users.
User taxonomies store all kinds of structured data about your members—any field that has a specific set of options can be stored in a user taxonomy.
Paid Memberships Pro offers an interactive settings page to create user profile fields. With a variety of popular field types, this feature is an evolution of our Register Helper Add On, which only supported adding fields via custom code.
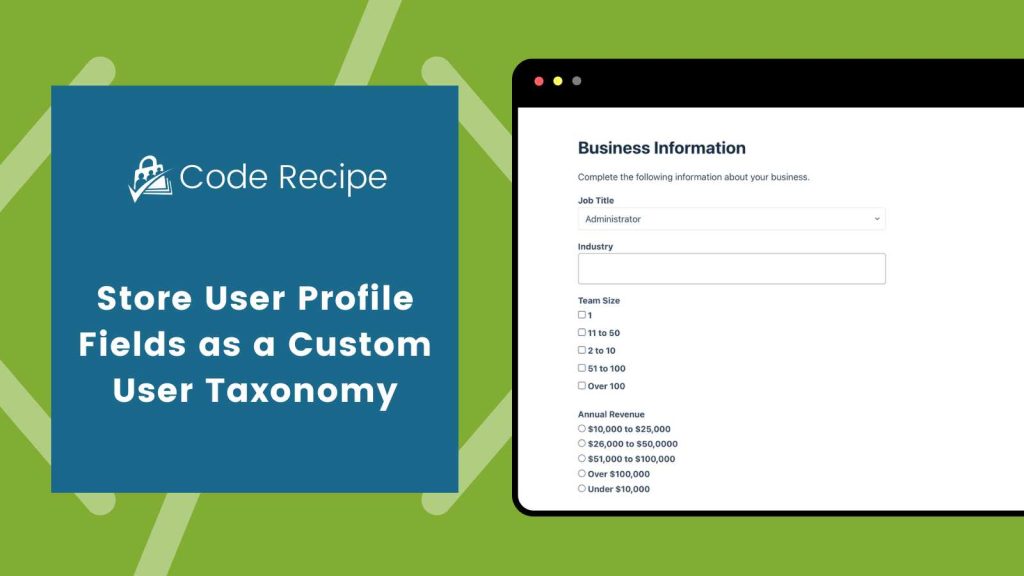
This tutorial demonstrates two ways to create a custom User Taxonomy field for membership checkout and profiles, either by registering and adding fields programmatically or by extending a field you’ve created through the settings page.
Understanding Taxonomies and Custom Fields
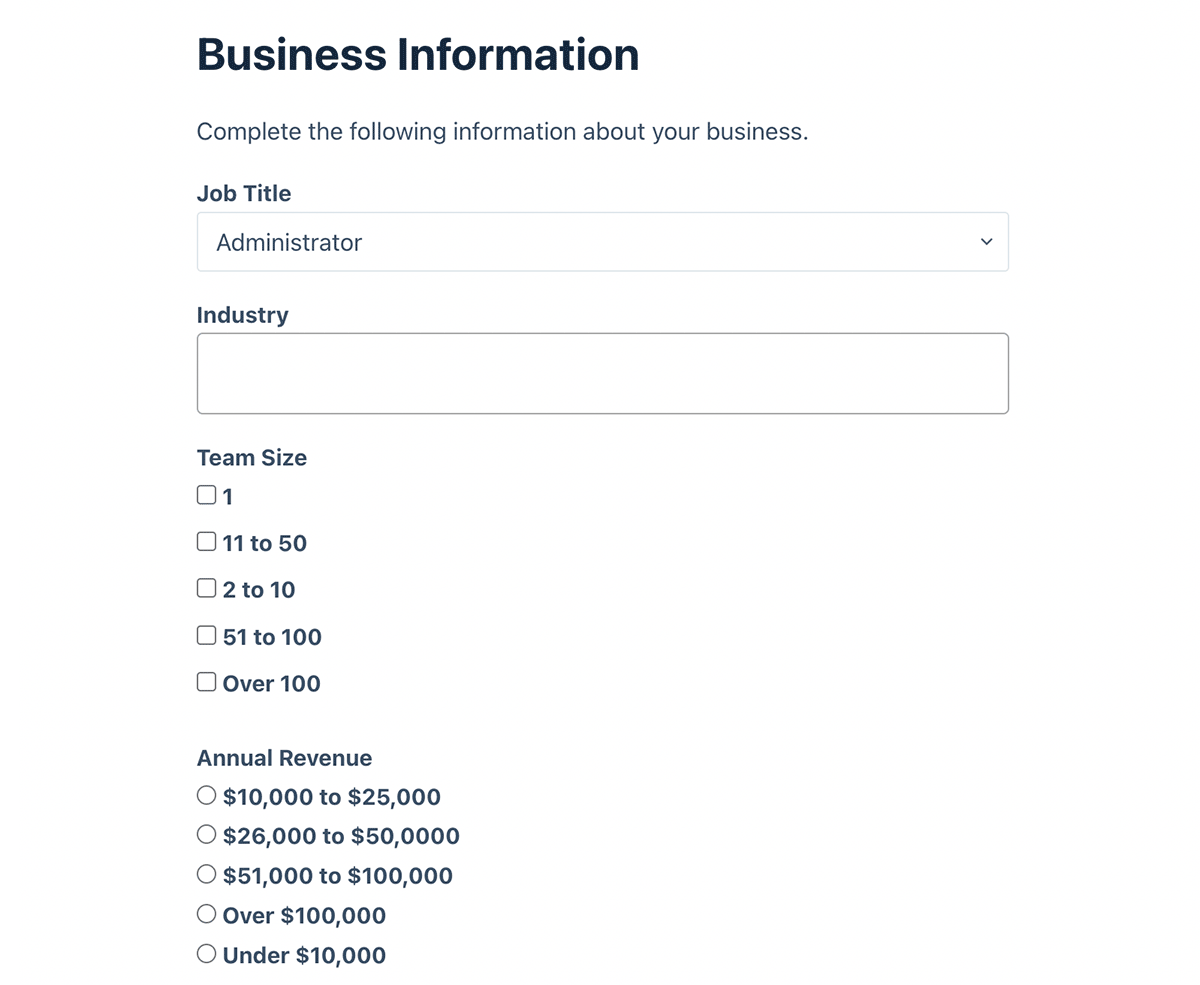
Using custom code, membership sites can register a custom WordPress user taxonomy field and capture structured data about their members on the checkout form or on a member’s user profile page. Here’s an email of four unique taxonomies, captured as a dropdown, multi-select, radio, and checkbox field type.
Much like the native Post Categories or Post Tags in WordPress, Data captured in a taxonomy is automatically stored as a WordPress term.
To configure a custom user taxonomy and add it to your forms requires two functions in PMPro: pmpro_add_user_taxonomy and pmpro_add_user_field.
The recipe below demonstrates how to first register four unique user taxonomies. You can use any of these field types to capture and display a user taxonomy profile field.
In this recipe, I’ll show you how to add a select, multi-select, radio, and checkbox list field type. Each of these fields allow users to select from the structured list of terms you’ve defined.
Code Recipe #1: Create Fields and User Taxonomies Using Code
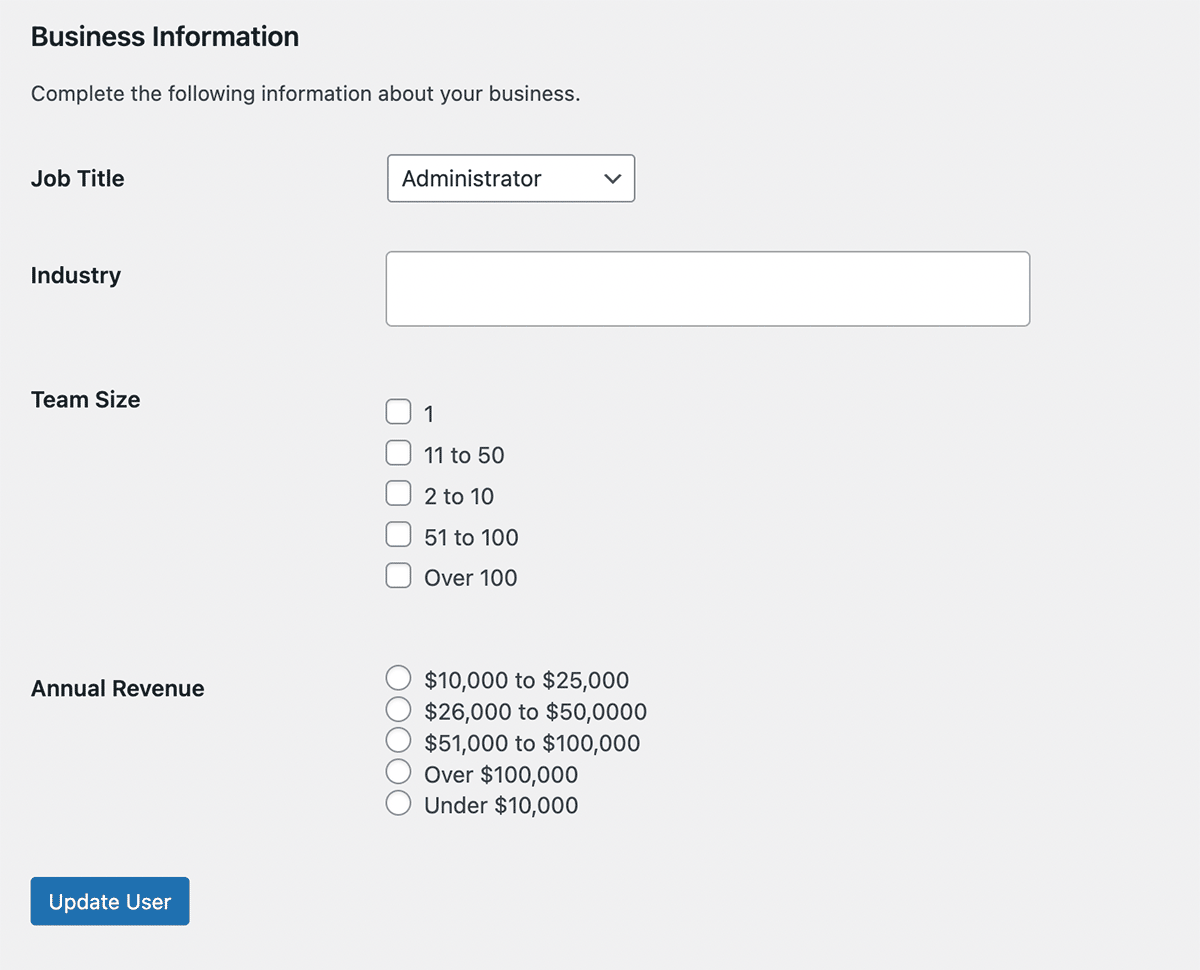
The first recipe in this guide registers four custom user taxonomies. It then creates fields that get added to various user profile forms: a select, multi-select, radio, and checkbox field type. All fields are added using PMPro’s user fields system, which ensures integration with membership checkout and user profile editing.
The fields and terms display automatically wherever PMPro user fields appear, including on checkout, profile edit pages, and admin user screens.
This approach is useful when field values should be constrained to a set of terms, especially when filtering or segmenting members by those terms.
The Code Recipe
Code Recipe #2: Extend a Field Created in Settings
If you’ve already created a user field through the User Fields settings screen, you can extend that field to save as a user taxonomy using the pmpro_add_user_field filter.
This method is helpful if you prefer the point-and-click experience of the admin UI, but still want your data stored as a taxonomy for filtering or segmentation purposes.
The Code Recipe
This example assumes you have already created a user field in Memberships > Settings > User Fields with the name member_location.
It then registers a location taxonomy and tells PMPro to treat that field as taxonomy-linked.
Adding the Recipe to Your Website
You can add this recipe to your site by creating a custom plugin or using the Code Snippets plugin available for free in the WordPress repository. Read this companion article for step-by-step directions on either method.
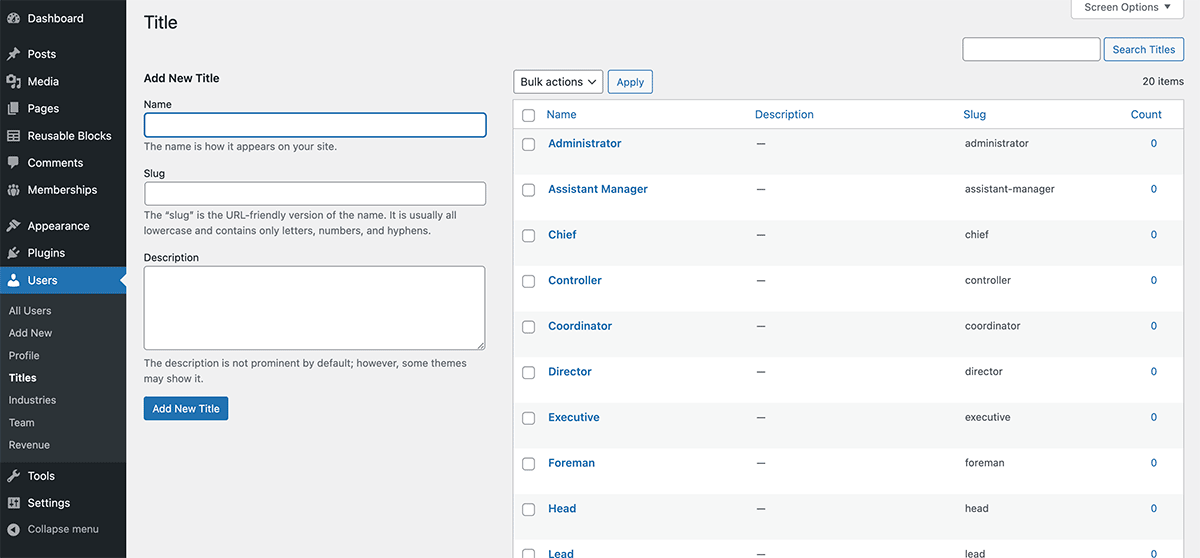
Populate Terms for Your User Taxonomy
After configuring this code, navigate to Users > Your Taxonomy Name in the WordPress admin. Just like the Posts > Categories screen, this page allows you to insert as many new term names for the taxonomy as you’d like.
Whenever a field is shown to a user or admin, the user fields code in PMPro automatically shows every term you’ve created.
Video: Coding with Sam Walkthrough
Free Course: Membership Site Development—The Basics
Develop a deeper understanding of membership site development in this beginner-level course. Learn how to make your site work better, save yourself time and money, and improve your site's performance.